
Anyone else have a child that’s into horses? My oldest (8) has read a lot of books about them, and sometimes tells people she wants to be a vet someday. Even though she’s only ridden a horse once, she’s enamored by their beauty and seems eager to read any horse book she can get her hands on.
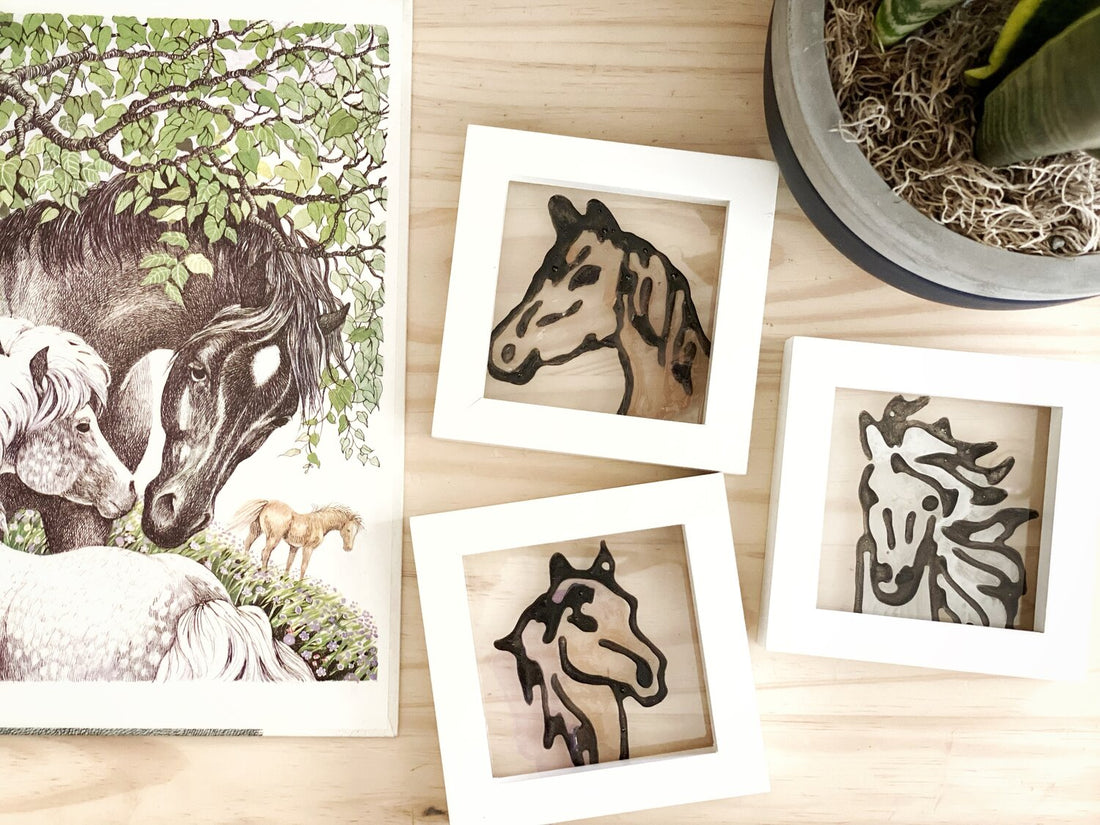
For a fun craft, I pulled out some materials for her to make some faux stained glass decorations she could keep on her desk. We’ve done this project before as gifts for the grandparents and we always love how they turn out! This time around, she opted not to use many vibrant colors so they’d look more realistic but this works great with any colors you choose.
Gather materials:
-
clear Elmers glue
-
bamboo skewer stir stick
-
acrylic paint (black + assorted colors)
-
paint brushes + palette
-
glass + frame
Steps:
-
Sketch your design first on paper. Or print out some clip art to use as a template, whichever you prefer. Keep the designs simple with heavy black lines, similar to a preschool coloring book page.
-
Open the clear Elmers glue and pour some black acrylic paint into it. Stir; keep adding paint until the color becomes a nice, dark black.
-
Lay your glass on top of the sketch.
-
Begin tracing the outline onto the glass by gently squeezing the black glue-paint mix on top. (You may want to test out on a scrap piece of paper first so you can get the hang of it). Once your outline is finished, let the glass dry before proceeding to the next step.
-
On your palette, mix a small amount of your chosen colored paint with more clear glue and stir until you get a semi-clear color. Lightly brush on to the glass to fill empty spaces. Repeat as much as you’d like, and let dry.
