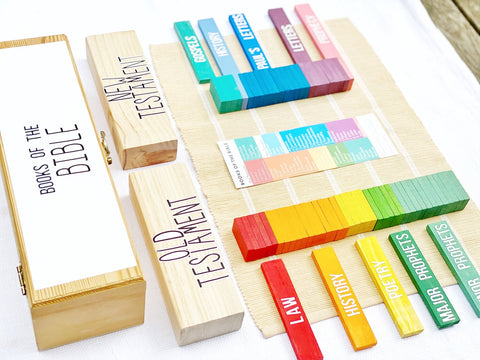
Teaching kids about the Bible is one of my lifelong passions!! But when it comes to breaking it down into bite sized chunks, it can be hard to know where to start.
I wanted to create a resource that would visually show how the books of the Bible fit together to tell one overarching story of God’s redemptive work in the world. By using supplies I mostly had on hand, this project was cost-effective, and is open-ended enough to suit multiple ages and learning styles. I’m excited to see how my own kids begin to use this to familiarize themselves with God’s Word!


Gather supplies
-
Various sized wood blocks or planks. Any combination of these, these and these would work well. (Note: small Jenga block sets can often be found at the Dollar Store!)
-
Paint, assorted colors + paintbrushes and palette
-
Glue
-
Printable Books of the Bible bookmark by Our Life in the Shire
-
Wooden wine bottle box, similar to this
-
Lined placemat (optional)
-
Wooden tray (optional)
Steps
-
Print bookmarks and gather materials.
-
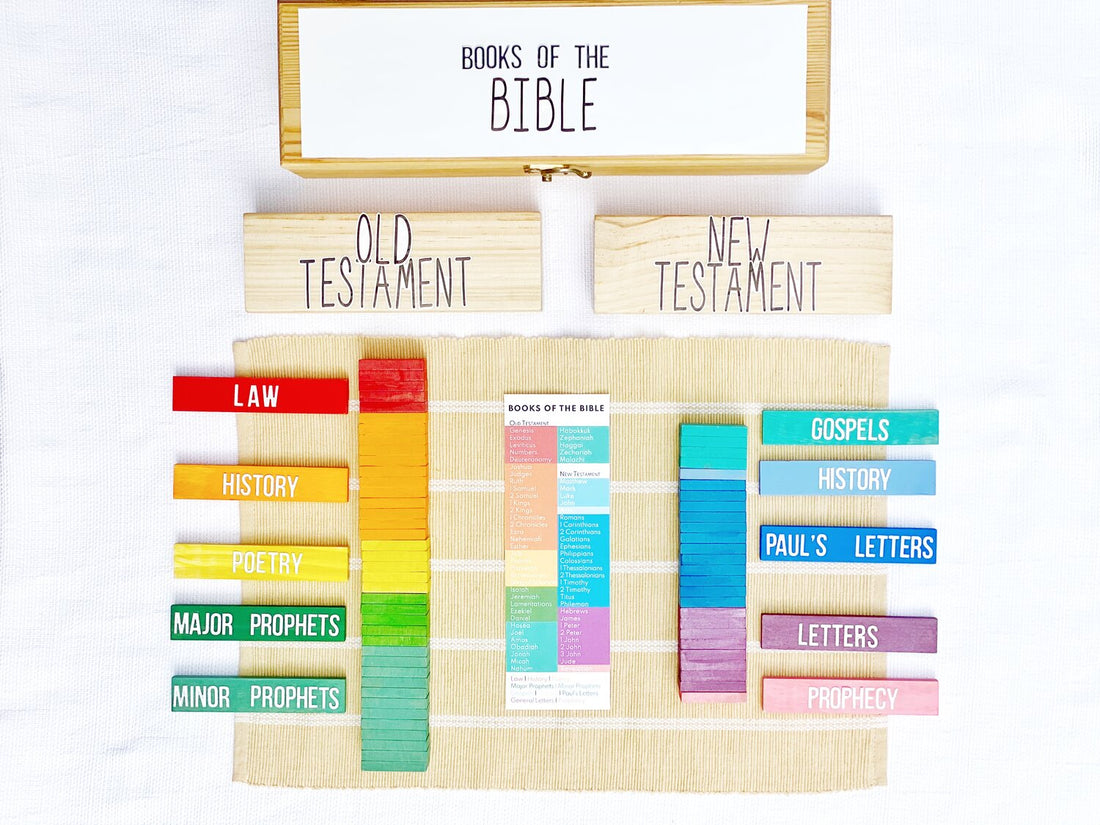
Glue blocks together to represent the major groupings in the Bible (you’ll need 66 planks in all). If you’re using these bookmarks as your ‘control’ cards, you’ll want to gather an assortment of rainbow colored paints to use.
-
Paint block groups, and corresponding label planks. Let dry.
-
Add sticker labels.
-
Place all items in a wooden box to store. I used this wine box to store the puzzle pieces, and added a lined placemat.

For the youngest kids, this can be a simple color sorting activity. As the child gets older, the activity can be used for more thorough sequencing and memorization. A child can organize the books into Old and New Testament categories, smallest to largest groupings, and even further still, into memorization of books within each color coded group.
Let me know if you give this a try! I’d love to see :)


